Measurement devices are the front line in any industrial process, providing vital intelligence that can be used to check and fine-tune performance.
In the oil and gas industry, measurement instruments are the backbone of custody transfer metering systems, typically measuring a range of parameters including flow rate, density, pressure and temperature, plus the composition of the flow itself. Used wherever a liquid or gas is transferred between different parties, custody transfer systems provide the measurements needed to calculate the financial value of the transferred medium.
Given the vital role they play, custody transfer metering systems are designed and manufactured to national and/or international standards to ensure maximum measurement traceability, extending to the measurement devices themselves. For the purposes of ensuring long-term accuracy, the performance of these instruments needs to be checked and maintained to ensure there is no risk of anything happening that could affect the calculation of custody transfer transactions.
Instruments of improvement
In addition to providing data on process variables and alarm functions, modern measurement instruments also contain a wealth of diagnostic information that often goes unrealised by operators and maintenance teams.
The ability to utilise this data is important because even small measurement errors can result in incorrect billing, potentially impacting on the revenues of the vendor or buyer. As a safeguard, companies will often invest large sums of money to minimise the risk of measurement errors by testing their measurement devices.
This will be done in different ways, depending on the device and the criticality of the measurement. Flow meters, for example, are typically proved in the field and/or recalibrated in a test laboratory. Other measurement devices are compared with a traceable reference device or fluid, with calibration taking place if necessary.
Why does system accuracy need to be tested?
The realities of oil and gas applications mean that measurement devices will often be operating in harsh environments. Over time, these adverse conditions can take their toll on a device’s operating accuracy, requiring periodic testing to ensure that devices continue to meet the high performance standards required for custody transfer applications.
For this reason, manufacturers have developed sophisticated methods of checking device operation. One example is mismeasurement management (MMM) software, utilising virtual flow computing technology.
Virtual flow computing uses live data to mathematically model the system to predict and match actual measurement data. When a fault condition occurs, e.g. a prolonged loss of pressure measurements, the MMM software uses the virtual flow computing model, plus a range of information including logs, historical data trending and alarms to calculate the mismeasurement, with a report containing the recalculated figures then being produced.

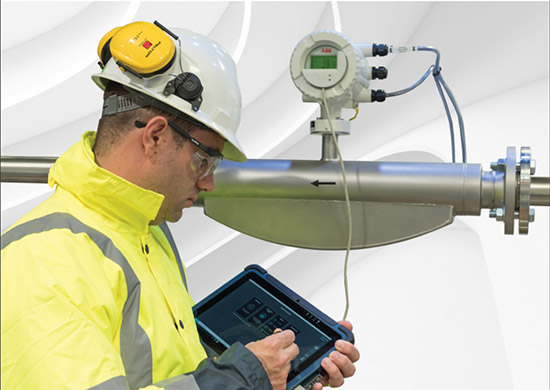
Measurement device verification is an in-situ tool for checking instrument accuracy and performance. During a verification test, on-board diagnostic information is used to ascertain the condition of the device and assess whether it is within its original calibrated values. This information can include snapshots of key parameters including:
- Sensor transducer internal measurements (resistance, capacitance, inductance, frequency etc.).
- Meter output accuracy (analogue pulses or 4-20mA digital outputs).
- Cable insulation resistance.
Comparing the results of the verification test with those of the original fingerprint test that will have been carried out at the time the device was either manufactured or commissioned on-site will help to identify any deviations in performance. Once identified, these deviations can be investigated and their root cause pinpointed and rectified before any further issues can develop.
While verification does not offer the same confidence in measurement accuracy that flow testing, proving or calibration provides, it can nevertheless be of value in helping to determine flow test frequency. If, for instance, periodic flow testing does not highlight a change in the calibration factor and verification tests show no change in test results then an operator could reasonably decide to extend the period between flow tests, saving both money and time.
There are various ways that verification technology can be implemented, including:
On-board verification
This technique provides continuous self-checking of the device with the resulting data being relayed to higher level systems. Given the storage limitations of measurement devices, test data is not typically stored or available for subsequent analysis. However, having the actual result itself (pass, marginal pass, marginal fail, fail) can be sufficient in giving the operator a useful benchmark upon for further action.
On-demand verification software
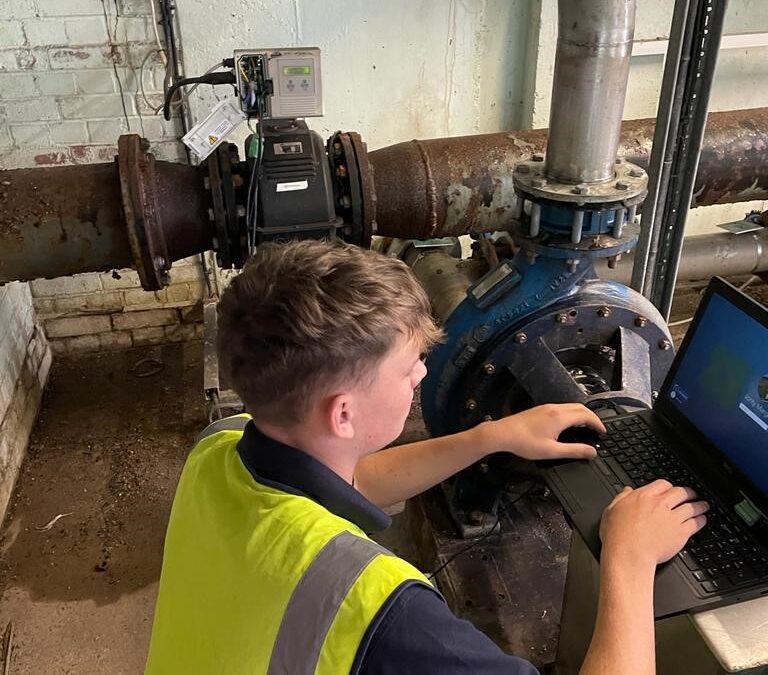
Installed on a PC, on-demand verification software can be used to communicate independently with the device, collecting diagnostic data and performing verification tests. This approach enables a current test to be compared with previous test results and allows trending of parameters to identify long-term degradation. The software can also be used to generate a certificate as proof of the verification test having been performed.
Depending on the criticality of the application, a potential drawback with on-demand verification software is its reliance on the operator to manually perform the test. Furthermore, it may also take time for the build-up of historical data for trending and predictive failure detection to be statistically useful.
Automated remote verification
In this method, a server or cloud-based version of the verification software is used, with verification tests being carried out at set intervals. A key benefit of automated remote verification is its accessibility and ability to alert operators to potential issues. Using a system such as the ABB Ability Verification for measurement devices, operators and maintenance teams can easily access archived test data and use it to identify any performance trends. The ability of automated systems to generate an alert in the event of a test deviating from the original fingerprint test result is particularly valuable in identifying some of the problems experienced by the oil and gas industry and helping to reduce mismeasurement time.
What does the future hold?
With the rapid growth in the adoption of digital technologies in industrial applications, operators are increasingly being presented with an expanding range of possibilities for harvesting data and utilising it to improve performance at both plant and process level. In the case of mismeasurement management and verification, it is likely that machine learning will increasingly be used to help pinpoint issues before they can affect measurement accuracy, with Artificial Intelligence (AI) technologies being used to make decisions on areas such as maintenance and the ordering and delivery of spares.
Taken together, the impact of these technologies will help operators to make substantial savings each year by enabling custody transfer systems to operate at higher levels of accuracy and availability.
If you would like further information on the SRV500 verification software fill in the form below and one of the KC Service team will be in touch.


